
The title of this post may change. It could be:
- How to build a computer for under $400
- How to injure yourself building a computer
- How to limit your trips to Fry’s when building a computer
- How building a computer could get you kicked out of the house
We’ll soon see.
In any case, I hope this will be a funny and helpful guide that somewhat pertains to building a media server.
Step 1:
Find someone helpful at Fry’s that seems to know his/her shit and won’t give you hell for bothering them. I think I got lucky here… after wandering around aimlessly for about 30 minutes a sales associate approached and asked if I needed help. Before I knew it, Adam hooked me up with a case, motherboard, hard drive, memory, CPU and powersupply for under $400 and reassurances that injury in assembling them would be unlikely.
Step 2:
When you get home, clear the area.
Step 3:
Take inventory.
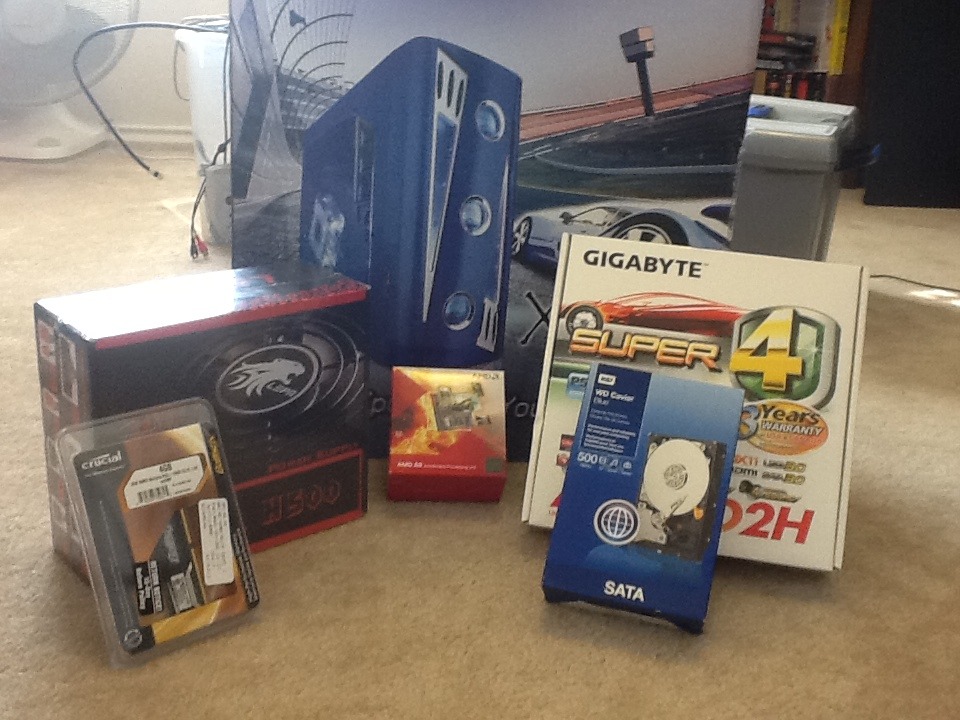
CPU: AMD A6-3500 2.1 GHz 3MB Cache: $74.99
Motherboad: Gigabyte GA-A75M-D2H FM1 (includes HDMI video and supports 6 SATA drives): $89.99
Case: Apevia X Cruiser (sold on the VU, temp, and fan speed readouts. The case is a bit big for a media server but will allow lots of working room): $69.99
Power Supply: LEPA N500: $39.99
Hard Drive: WD Caviar Blue SATA 500 GB: $99.99
Memory: 4GB DDR3 1600MHz (I’ll upgrade if needed later): $24.99
Total cost: $399.94
Step 4:
Gloat about your caffeine-fueled uber-confidence on line allowing yourself to be humiliated later.
This media server, with its components that potentially won’t work well together, will ROCK!
Step 5:
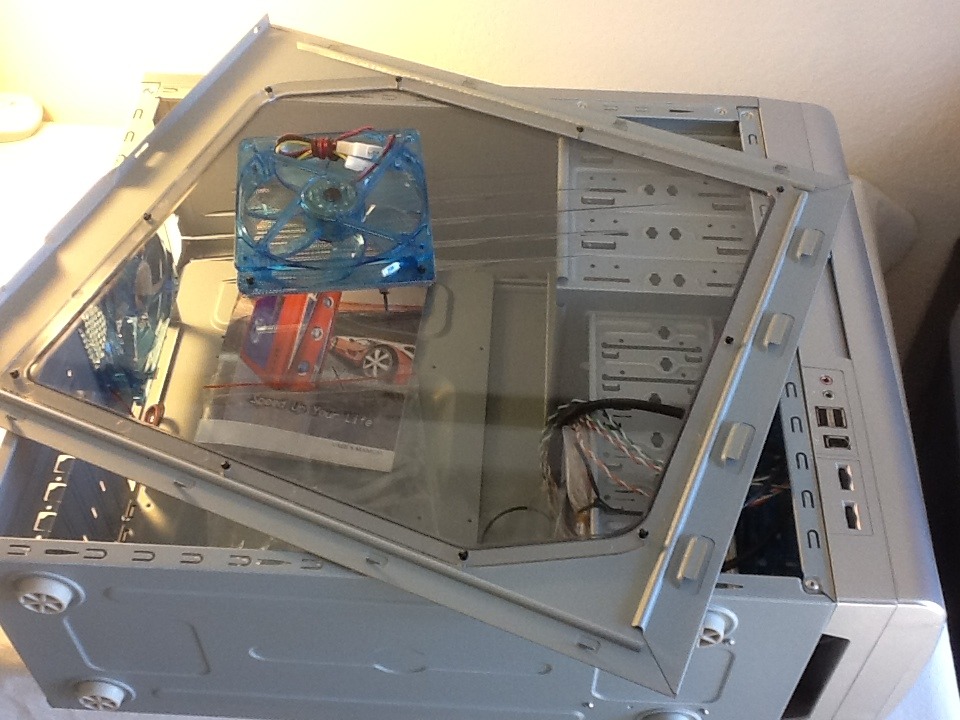
Unpack the case. This case is more sweet than I realized at the store. It has a fan speed dial on the side to get the right amout of cooling without the noise or energy expense. The front fan and back fan is already installed and just needs to be plugged in. It also has hinged access to the drives and power button. Two things amused me so far:
- The instructions are inside the case. It’s pretty easy to get into the case (the two thumb screws in the back. The first step in the instruction guide is how to get into the case though. 😉
- There was an empty zip lock baggie in the case. I have no idea what this should be used for as the screws are in a separate zip lock baggie. Maybe it’s for when I get frustrated later and end up busting the screw bag when I throw it across the room. Good thinking.
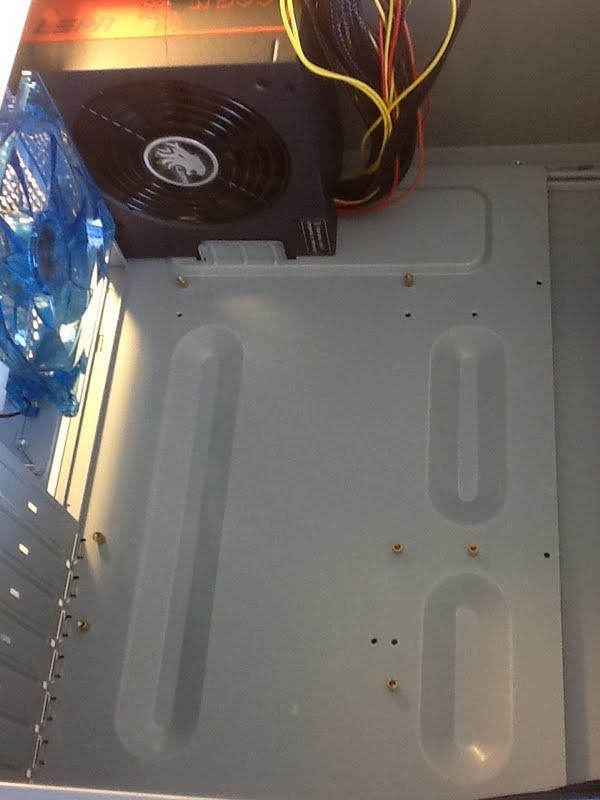
Step 6:
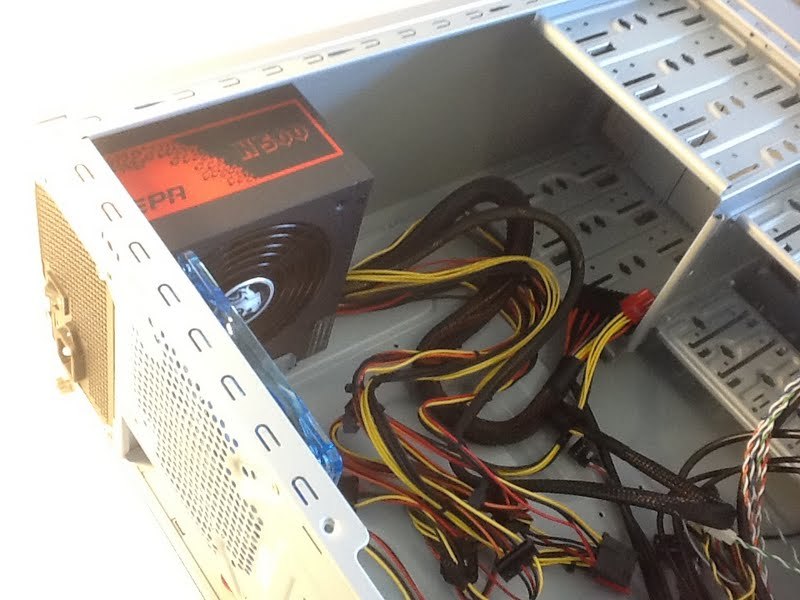
Install the power supply. This was freakin easy. I used the 4 screws that came with the power supply and just screwed it in the top-back of the case. Screw holes aligned magically. Maybe I won’t need that drill. 😉
Step 7:
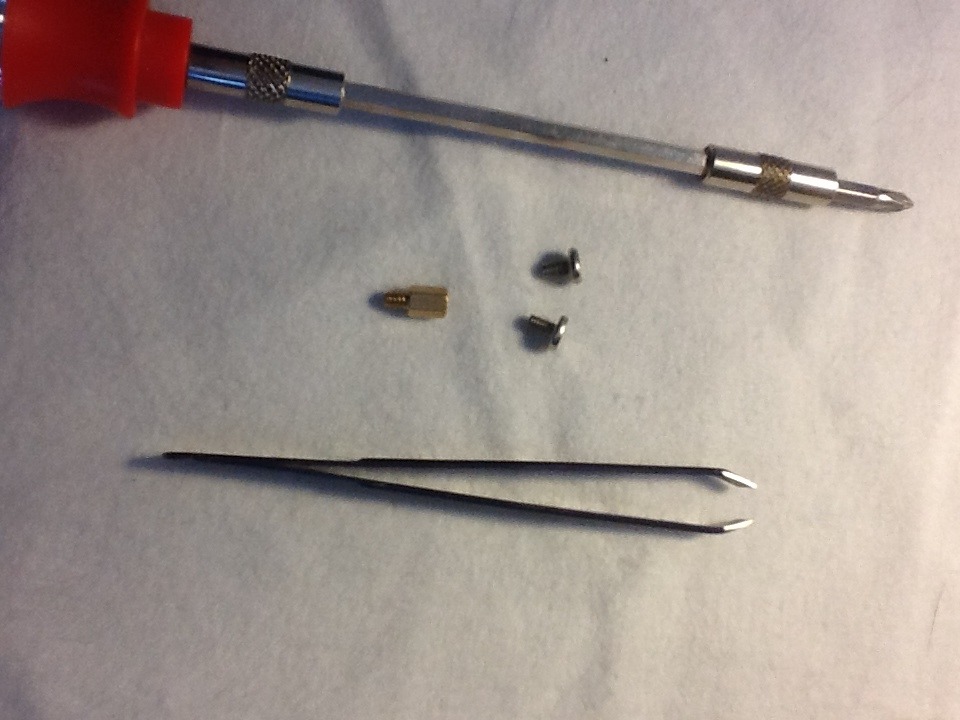
This step will save you about 30 minutes of frustration. You’re welcome. See the picture below? Got those tools? A phillips head screw driver and some tweezers? Make sure you do. Also – can you tell the difference between the top silver screw and the bottom? The top one came in a separate baggie, has a slightly rounded top and less threads than the one on the bottom. Put all the screws that match the bottom into that extra baggie that came with the case. Tape that baggie to the ceiling. You should not use those screws in step 8.
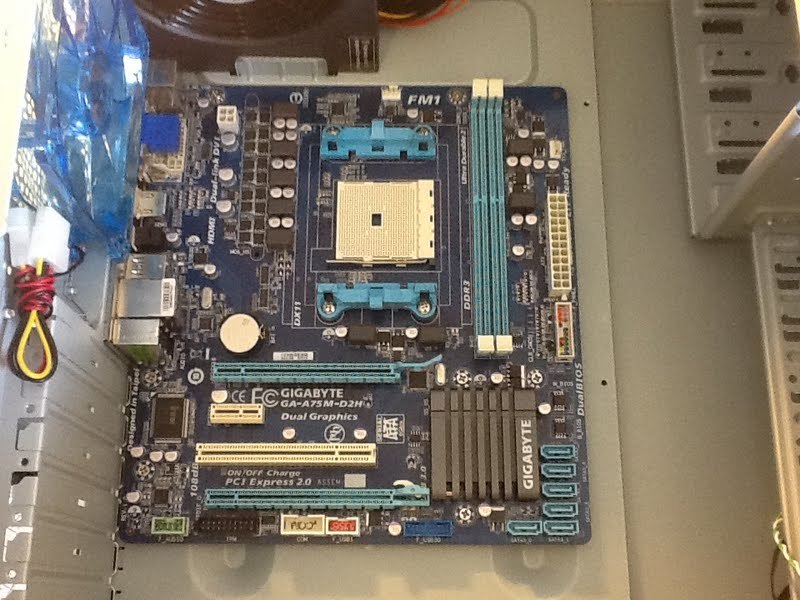
Step 8:
Line up the motherboard and mark the screw holes that align. Place the standoff screws (the gold ones) in the holes you’ve marked. Or don’t mark the holes at all and just mimic what I’ve done in the picture below.
Step 9:
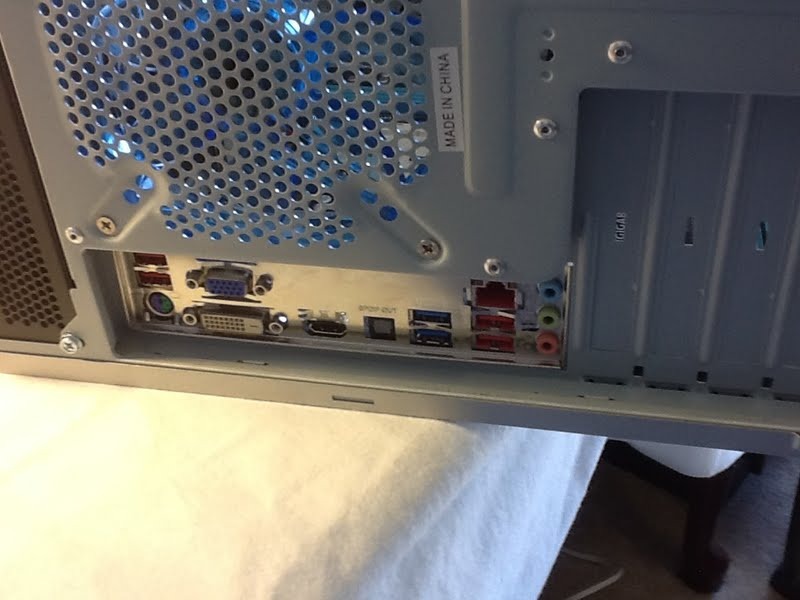
Place the motherboard on the screw holes so that they align. Squeeze the I/O shield (the piece that came with the motherboard that looks like scrap metal) in through the case and against the I/O ports of the motherboard. You’ll hear some clicks when it attaches to the case. You’re allowed to curse a couple times during this process. Screw in the mother board using the right silver screws we discussed in step 7. When done, it should look like the two pictures below.
Step 10:
CPU/APU install: If you read the motherboard guide, you’d see the instruction to “Apply an even and thin layer of thermal grease on the surface of the APU”. Do NOT use bacon grease. In fact, don’t worry about doing this. The AMD A6 3500 has the thermal grease already applied to the heat sink/fan.
The CPU goes in the large white square socket on the motherboard. There is a lever on the side that needs to be raised prior to installing it.
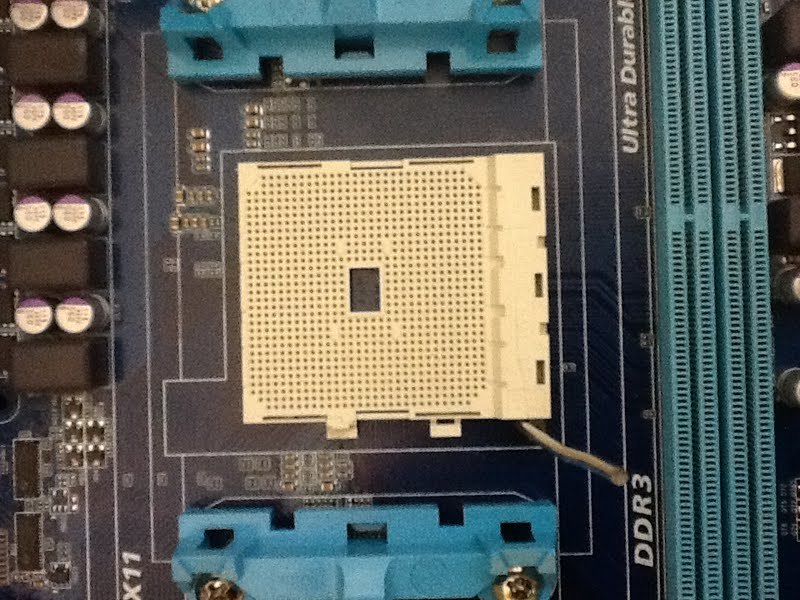
The CPU install is pretty easy – just find the triangle on the CPU and align it with pin one on the socket. No force should be needed – every pin should align without much effort.
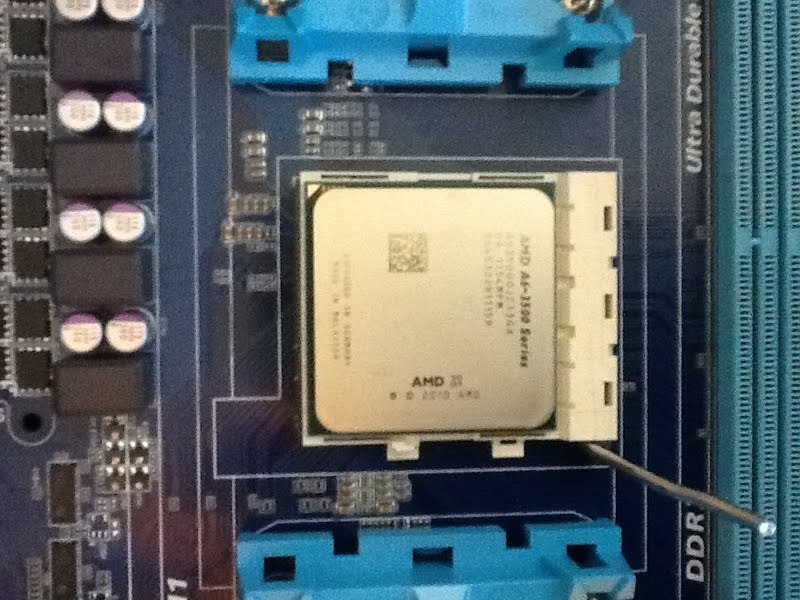
The heat sink stradles the two blue clamps on either side of the CPU. It doesn’t matter which way the heat sink goes as long as the metal clips align with the blue clamps. Turn the heat sink lever all the way. It feels like it may break here – cheap plastic lever. Mine went ok – just be careful not to use too much force.
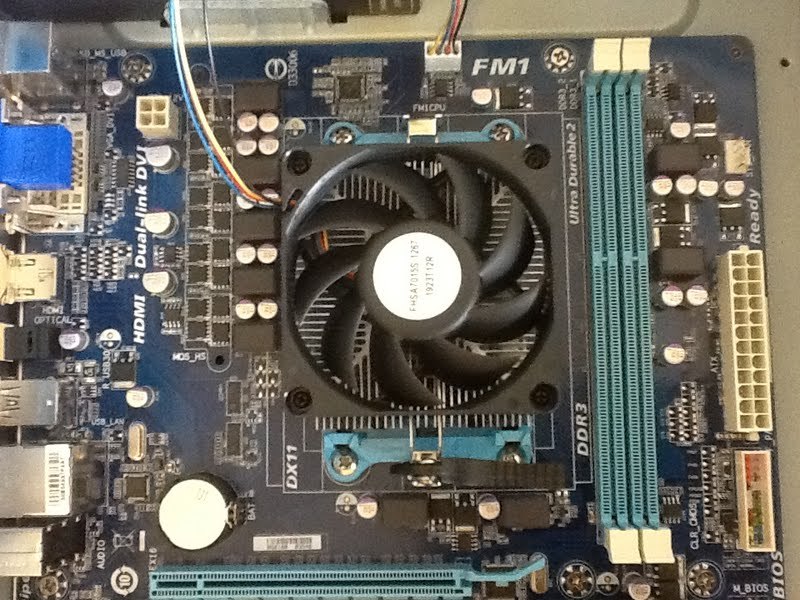
Finally, plug the from the fan into the “CPU Fan” plug on the motherboard.
That wasn’t too hard, was it? 🙂
Step 11:
The hardest part about installing the memory is taking it out of it’s packaging. Man-up (or woman-up) and tear through that packaging with your teeth! Or just use some scissors.
The slot labeled DDR_1 is where we’ll place the 4GB DDR. Open the white tabs by pushing down on them.
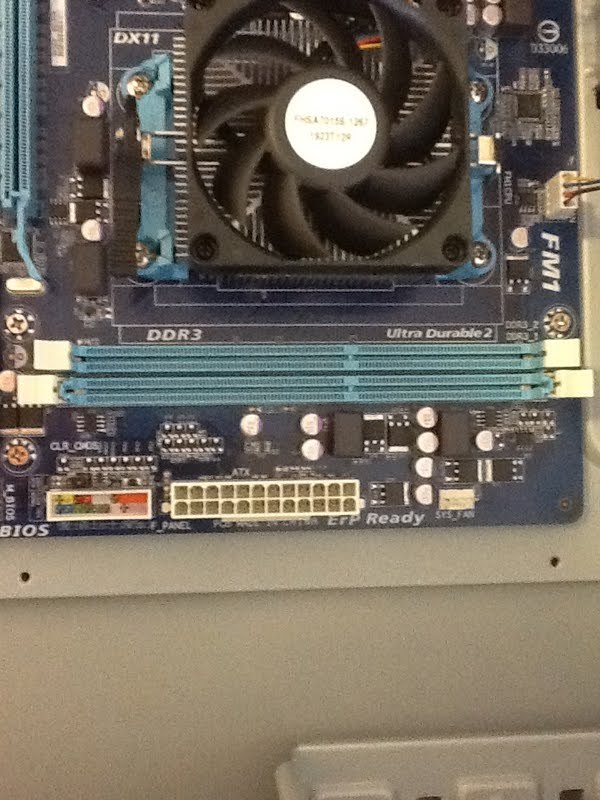
Look at the DDR and find the smaller pin side. Line that up with the smaller slot and push down on the memory. The white tabs will close on their own when you have it positioned correctly.

Step 12:
Get a bandaid. Time to install the hard drive. Slide the 3.5″ drive into one of the smaller bays and attempt to align the screw holes. Hint: The cable ports should face the motherboard. Be careful, because those metal edges are a little sharp. Use 2 of the 4 screws provided with the harddrive and secure it to the drive bay.

Pray to whatever God or flying spaghetti monster you worship and turn the case upright to get to the 2 other screw holes in the drive bay. Secure that side of the drive with the remaining 2 screws.
Flip the case back down so the motherboard is facing up again. Cable time. 🙂
Step 13:
There are a lot of cables to connect. Some don’t quite make sense. Evacuate any children and sensitive ears as needed as cursing is likely to occur. First – connect the power cords to the motherboard.This includes the 24 pin main power connector and the 4 pin connector.
First the 24 pin:
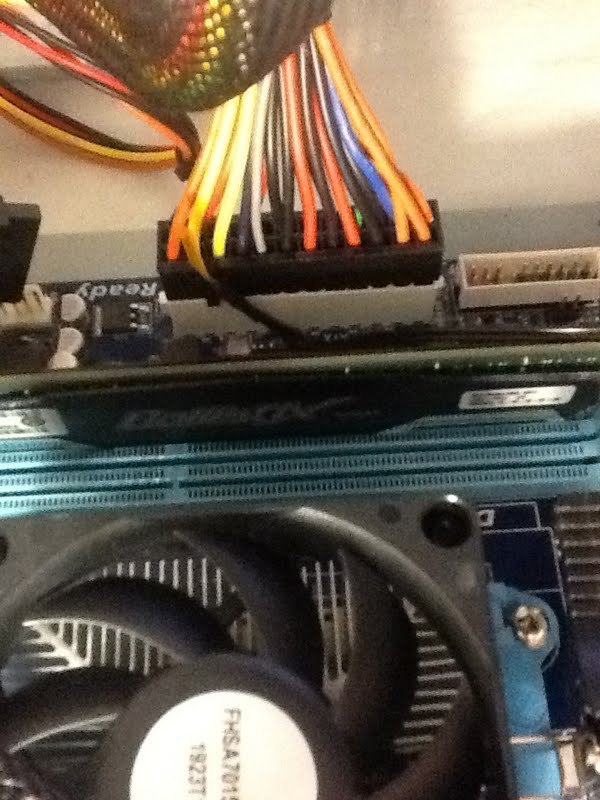
That was easy. Now for the 4 pin.
Yeah – I noticed that too. The power supply doesn’t have a 4 pin connector. It does have an 8 pin connector though. I researched the hell out of this (and the system works), so trust me on this. Connect the far right 4 pins of the 8 pin connector into the 4 pin slot:
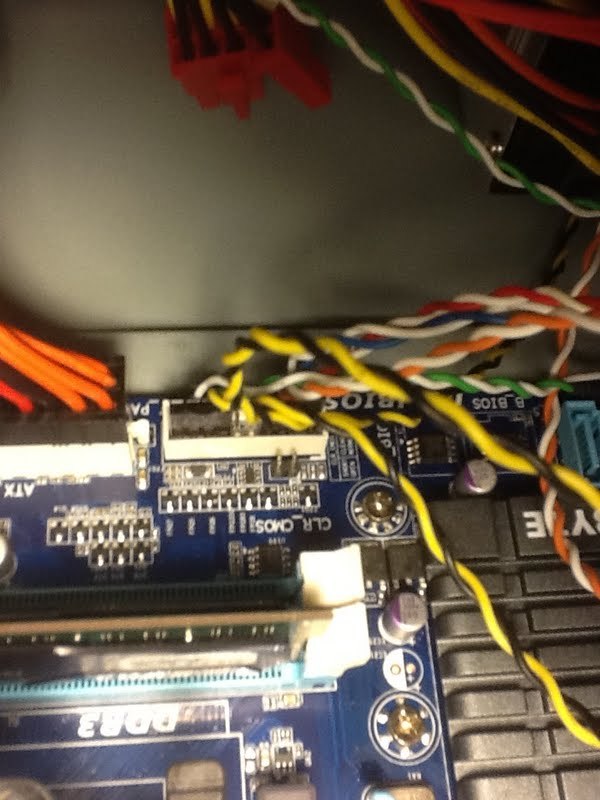
Next, it’s time to connect the case leads to the motherboard. The USB and Audio are pretty easy to figure out (look for F_AUDIO and F_USB1). The 1394 is not. There is no connection for 1394 Firewire on the motherboard. For my purposes, that’s ok. I just left it unplugged. If this doesn’t work for you, then you might want to go the route of a PCI firewire adapter card. Or rip everything out and go with another motherboard. 😉
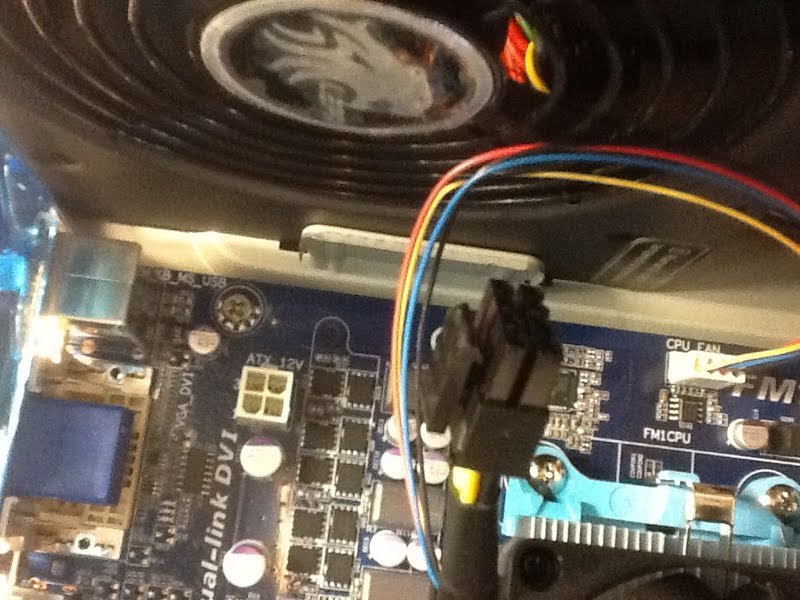
Next set of cables are pretty easy to, you just might need a microscope though. These are the other front panel leads for the speaker, switches, and LED lights. Use the help on page 25 of the motherboard guide to figure out what goes where. Match the triangle on the cable to the + on the motherboard pin. It should look something like this when done:
Ok – we’re getting closer. Daisy chain the fans together. Connect the male end of the connector with 7 wires (2 yellow, 2 red, and 3 black) to the power supply:
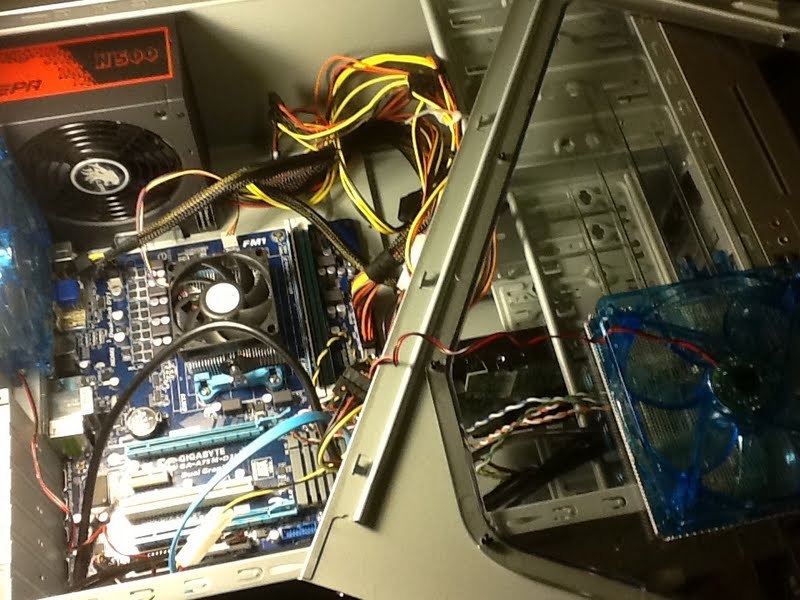
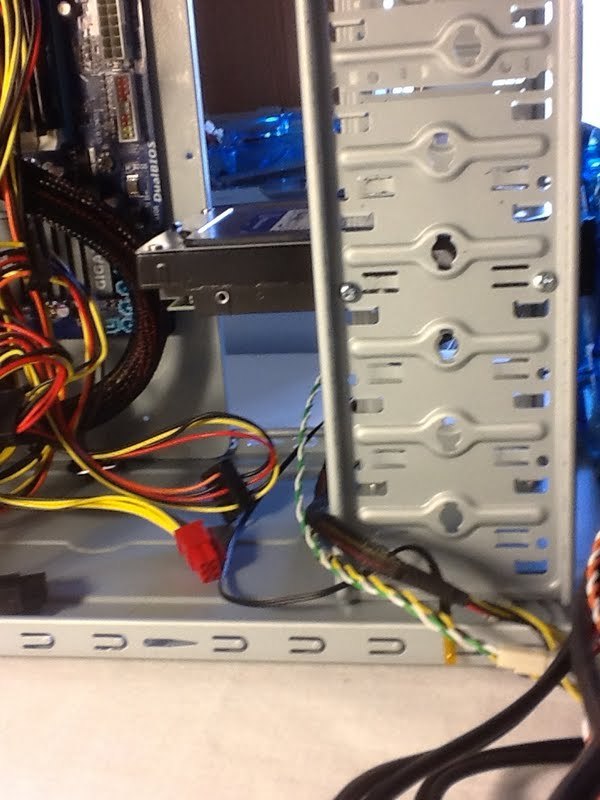
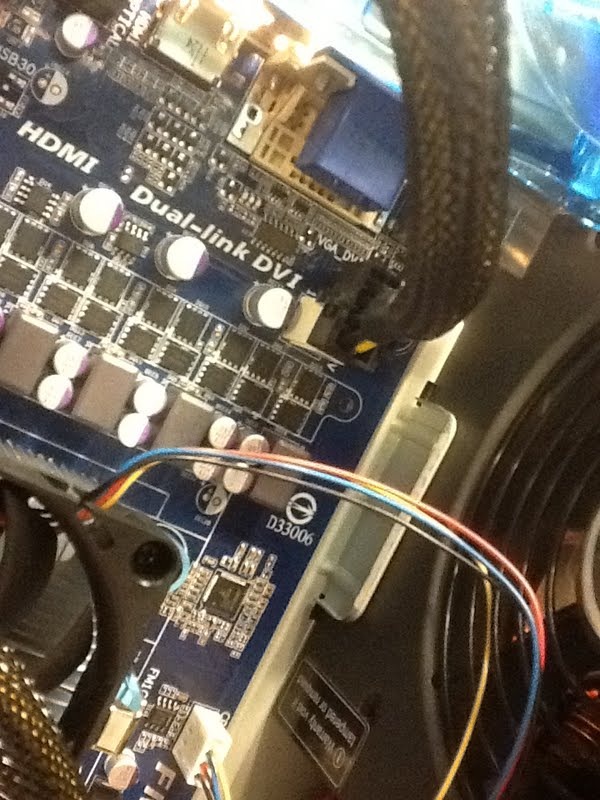
Finally – connect the hard drive to power and to the motherboard (via the blue SATA cable that came with the motherboard). I used SATA 0 on the motherboard.
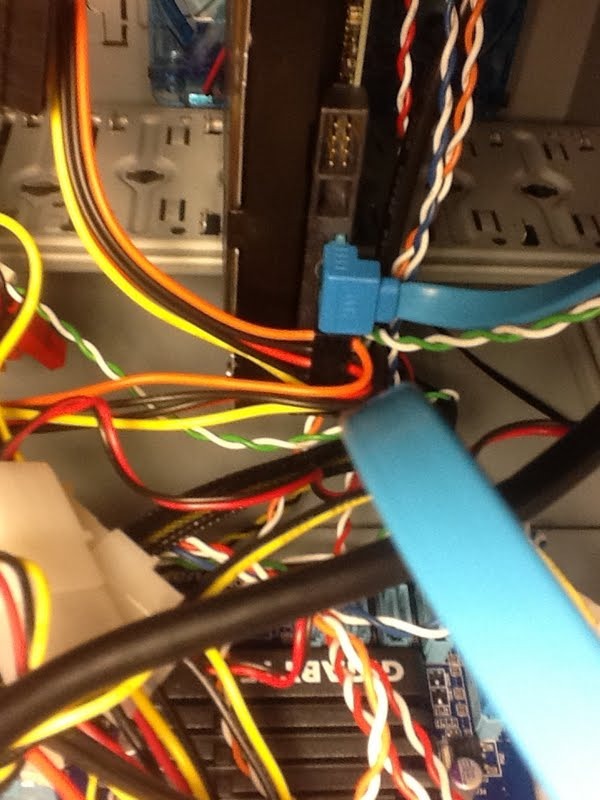
That’s it for the cables!
Step 14:
Don’t put the case back together yet. We need to make sure it’s working first. Plug in the power. Flip the switch on the back of the power supply, then hit the power botton on the front of the case. Are the fans spinning? Even the fan on the CPU? Do you heard the hard drive?
If the answer to any of this is no, that’s ok. Power off the computer, unplug it, and check the connections. It may take a couple tries before you get it right.
Once you see every fan turning, the motherboard beep on boot, and feel the hard drive vibrations – you should be good. Put the case back together, hook up your monitor, keyboard, and mouse. Then turn it on. : )

That message on the monitor? “DISK BOOT FAILURE, INSERT DISK AND PRESS ENTER”. That’s a good sign. The hard drive was found, but there’s no operating system on the machine yet. That’s another post. Hint: https://help.ubuntu.com/11.10/installation-guide/amd64/index.html

Leave a comment